# Elementor Shop Page Settings
Use Elementor to design and personalize your WooCommerce Shop page with full control over layout, product display, filters, and styling. You can add banners, customize product grids, adjust spacing, and enhance the user experience.
#### **Here's how you can create a shop page with Elementor**
**Step 1: Create a New Page**
* Log in to your WordPress Dashboard.
* Navigate to **Pages → Add New**.
* Enter a title for your Shop page (e.g., “Shop”).
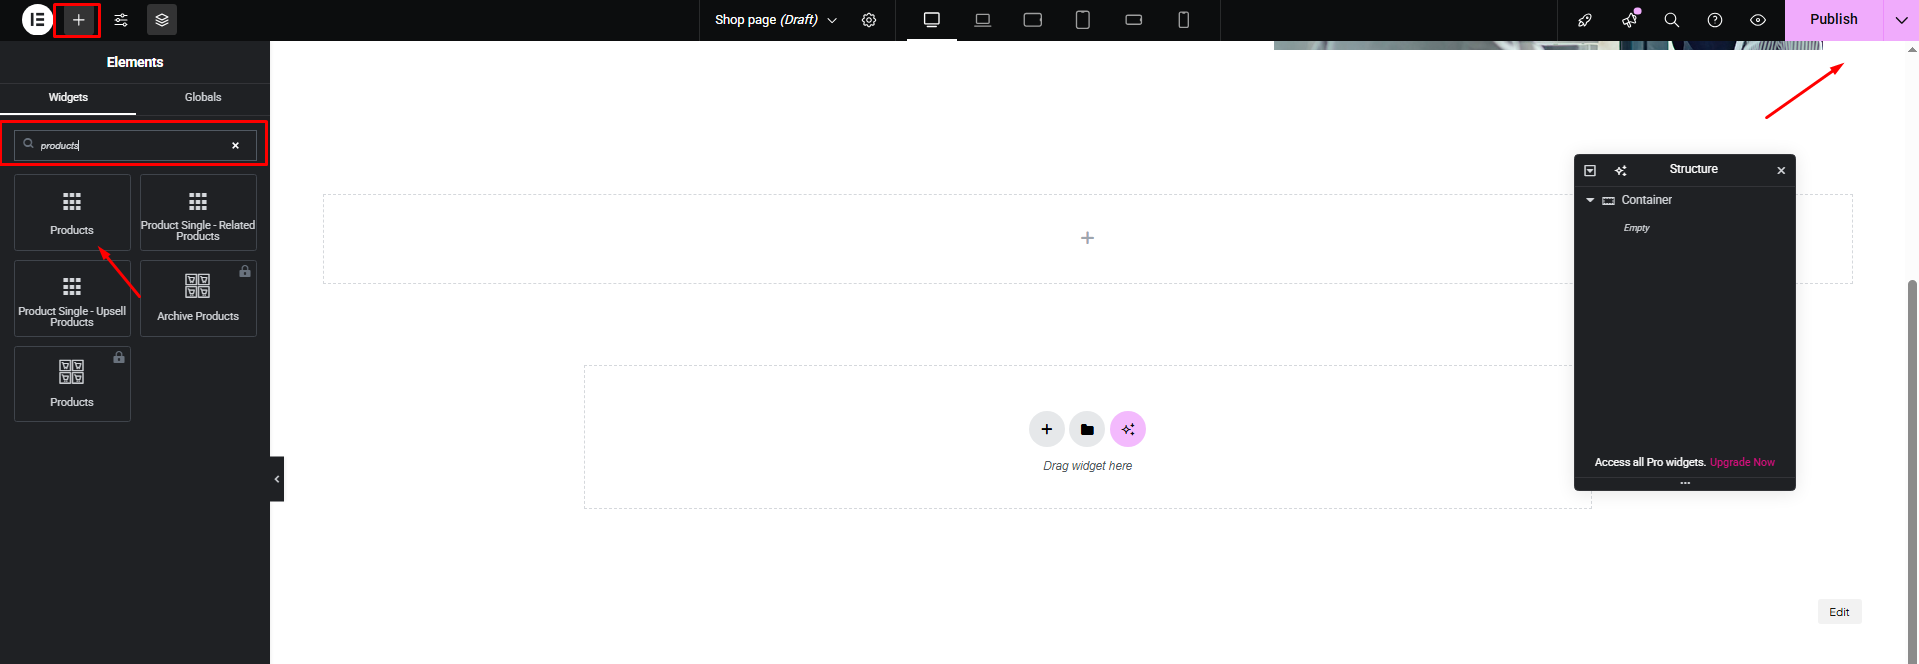
**Step 2: Design with Elementor**
* Click **Edit with Elementor**.
* Drag and drop the **Product** widget onto the page.
* Customize the layout, number of columns, filters, and styling as per your requirements.
**Step 3: Publish**
* Once completed, click **Publish** to save
### Assign the Shop Page in WooCommerce
* **Log in** to your WordPress Dashboard.
* Navigate to **WooCommerce → Settings**.
* Click the **Products** tab.
* Under the **Shop page** section, choose the page you just created from the dropdown.
* Click **Save changes** at the bottom.